
Machine Shop Website Photography: A Buyer-Focused Shot List
KriXis editorial guide · About 13 minutes to read
A useful machine shop photograph helps a buyer understand something specific: the work you support, the context around a process, the people responsible for a discussion or the route into your facility. A collection of impressive machines can still leave those questions unanswered.
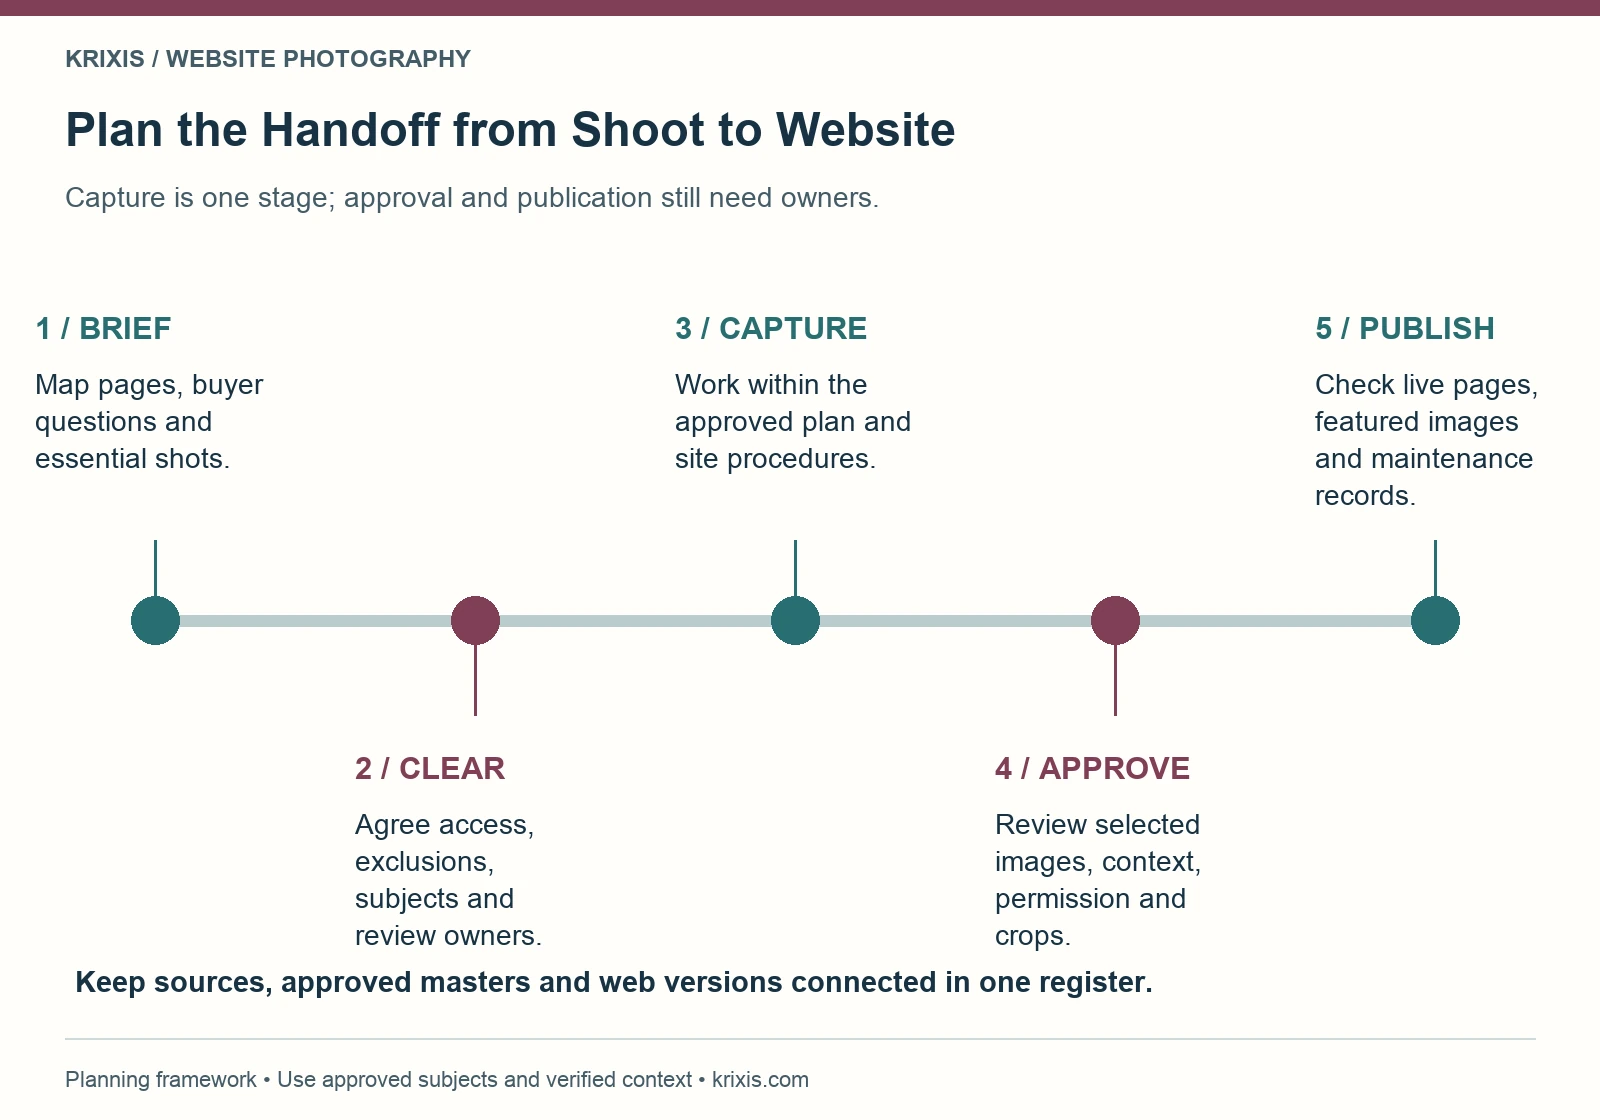
Plan the images around the pages they will support. Then agree what can be photographed, who can approve publication and which versions the website needs. This turns a shoot into a usable content library instead of a folder of nearly identical views.
This guide gives owners, marketers and website editors a practical way to brief a photographer, coordinate internal reviews and publish the resulting images. Start with a small set for your most important pages. You can expand the library after those images are approved and working on the live site.

1. Map photographs to buyer questions
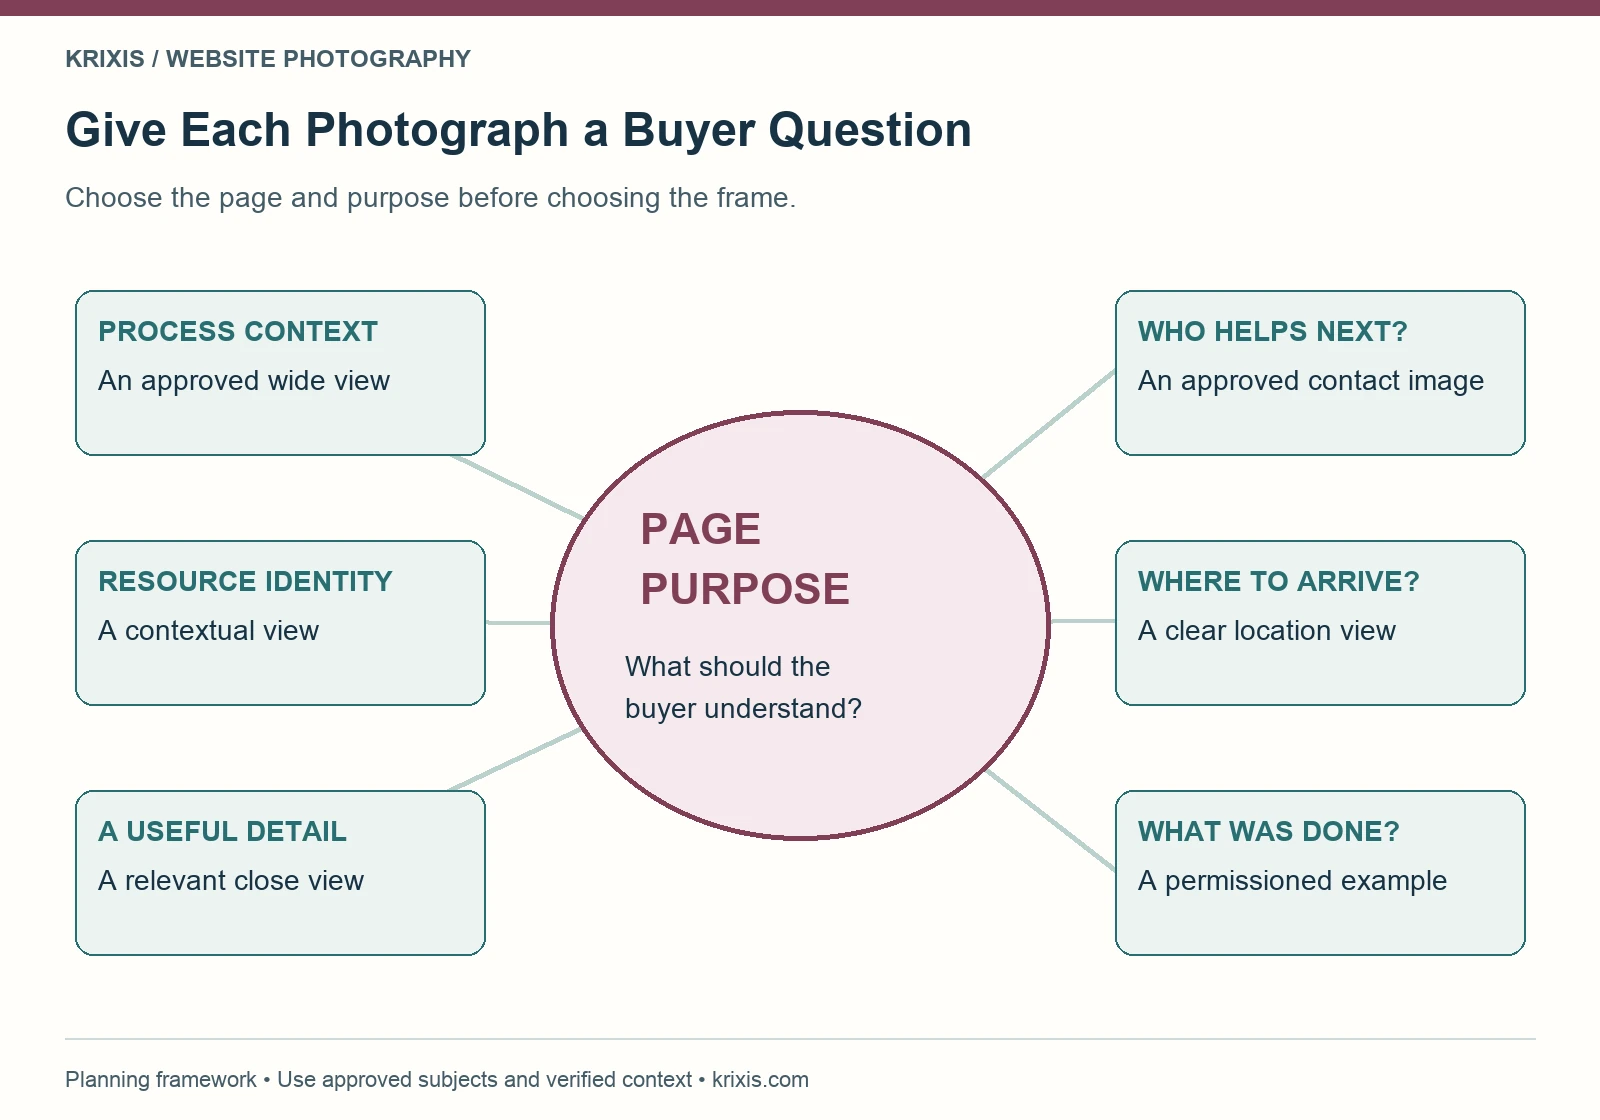
Begin with the page, not the camera. A milling capability page needs different supporting information from a company introduction or a quality page. Ask what the reader is trying to understand at each point, then decide whether a photograph can help answer that question.
A wide view can establish the context around a process. A closer view can show an approved operation or resource. A team image can introduce the person who handles the next conversation. These roles complement one another; five wide views of the same aisle rarely add five useful answers.
Make a simple map with three columns: buyer question, page destination and proposed subject. “Who reviews our requirements?” might belong beside the inquiry explanation, while “What does this process involve?” belongs on a relevant capability page. Keep claims that need written qualification in the surrounding copy.
Use your capability-page plan to identify the highest-priority destinations. If a page has no clear purpose, resolve that first. Photography should support an understandable explanation rather than conceal a gap in the page’s substance.
2. Build a shot list your team can review
Give each proposed image its own record. Include the target page, intended question, subject, framing, technical reviewer, permission owner and delivery needs. Describe the required result in plain language so the photographer does not need to infer your marketing strategy from a list of machine names.
For example, “wide view of the approved turning area with space for a mobile crop” is more actionable than “shop photos.” Add what must remain outside the frame, such as customer identifiers, unapproved parts or readable production screens. Identify the person who can make that decision on the day.
Plan a small mix of establishing views, contextual views and details. Include a company or contact image only where it helps the page. An exterior image may help visitors recognize an entrance; a resource detail may help explain an inspection discussion. Neither replaces the written scope of your services.
Mark essential shots separately from optional ones. If access changes or the schedule shortens, the team can protect the images needed for priority pages. Avoid filling the essential list with minor variations of one subject while leaving a key page without an approved image.

3. Resolve permission and confidentiality before the shoot
An item being visible on the shop floor does not establish that it is suitable for public photography. Ask the appropriate business owner what can be shown and how approval will be recorded. Include the people responsible for customer relationships and sensitive information where relevant.
Review more than the obvious subject. Labels, whiteboards, work instructions, drawings, computer screens, packaging and background reflections can reveal information you did not intend to publish. Put specific exclusions in the brief and have the on-site reviewer check the proposed frame before capture.
Agree the permitted uses of commissioned or supplied images with the appropriate rights holder. Record the photographer or source, the approval reference and any restrictions in your asset register. Do not assume an image received by email can be reused on the website, in advertising and in a public downloadable document.
If the planned subject cannot be approved, change the plan. Choose a permitted resource, an appropriate contextual view or a different explanation. Removing a logo after capture does not automatically resolve every concern. The publication decision should come from the responsible reviewer, not from the editor’s guess.
4. Coordinate the shoot with the people running the shop
Appoint one production contact and one content contact. Agree the areas available, timing, visitor instructions and who can authorize a change to the plan. The photographer should follow the site’s approved access and safety procedures; a marketing deadline does not justify improvising around an operation.
Use an approved observation position. Do not ask someone to remove a guard, stage an unsafe action or interrupt a process for a more dramatic image. If a shot cannot be made appropriately under the agreed conditions, defer it or use another subject.
Before the session, walk through the essential list with the relevant reviewers. Check which subjects are available and which background details need attention. This is also the moment to resolve whether a requested view would imply an in-house capability or resource that the shop does not actually provide.
After capture, reserve time for a contact-sheet review. Selecting and approving the images is part of the project, not an administrative step that happens automatically when the photographer delivers a folder.
5. Create variety that explains the work
Change the information, not just the angle. A useful set might move from an overall process area to a contextual resource view, then to a detail that supports the accompanying explanation. Each image should earn its place by adding something the previous one did not show.
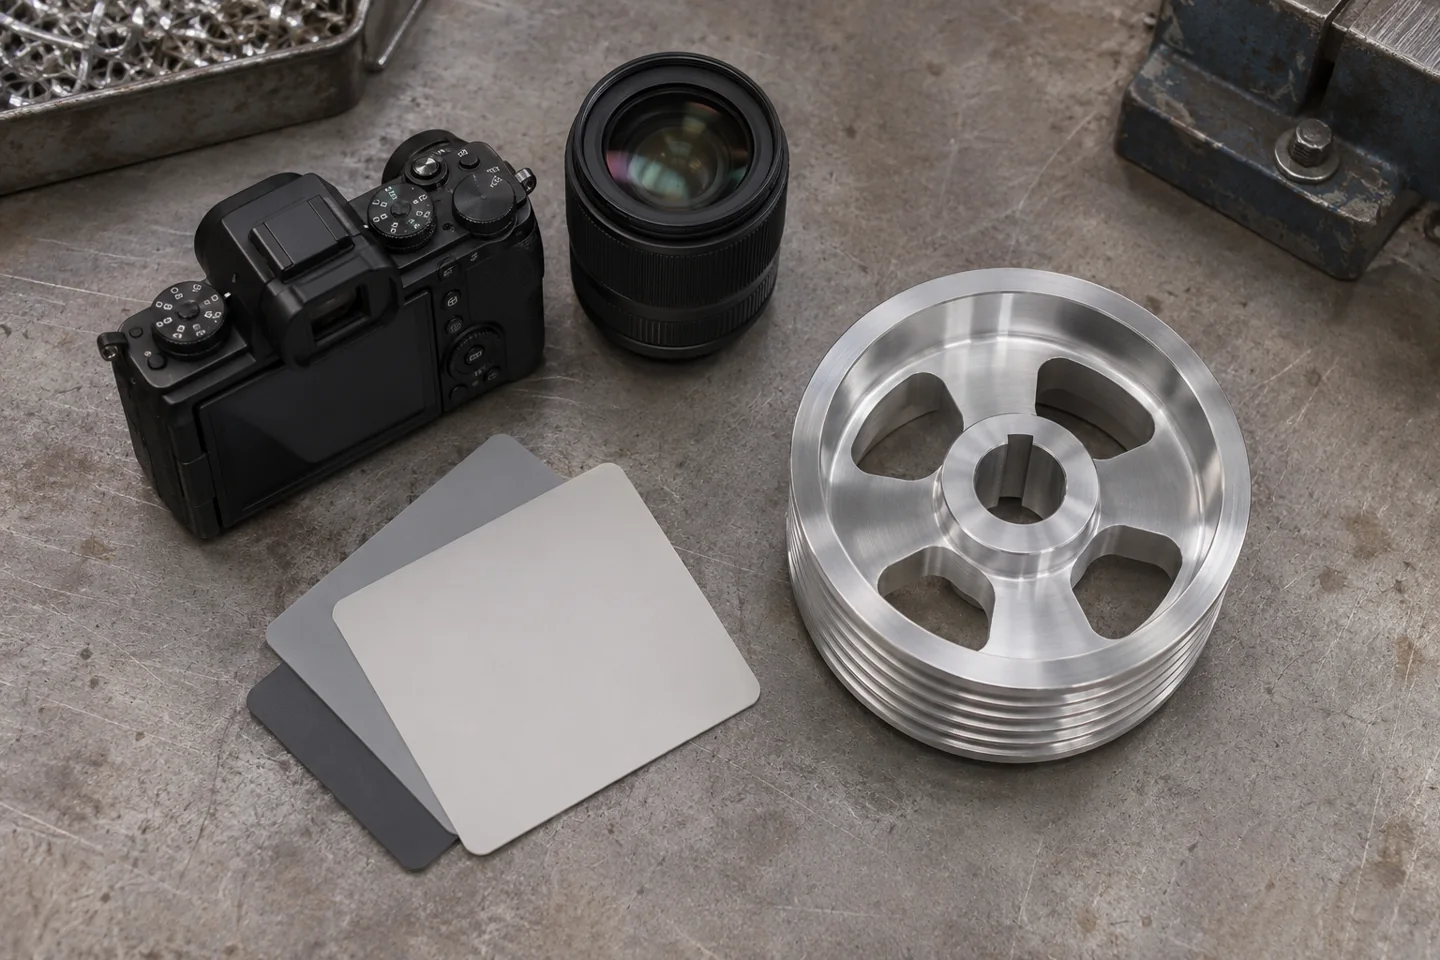
Consider distance, viewpoint and background. An overhead arrangement can explain a collection of permitted items. A low side view can reveal a surface or shape. A straight-on image may work better for identification. Ask which composition communicates the intended point without requiring the reader to decode a busy background.
Keep visual consistency through sensible color and editing choices. Aim for recognizable, readable subjects rather than heavy effects that make surfaces or lighting misleading. A detail should remain understandable at the size it will occupy on the actual page.
Link images to specific explanations. On an equipment-list page, a photograph can help identify context, but verified model information still belongs in maintained records. On a quality page, an instrument image does not establish a certification or an agreed inspection deliverable.

6. Keep visual evidence and business claims aligned
Use photographs of your actual approved resources when you want to document your shop. A concept illustration can explain an idea, but it should not stand in for evidence that you own a particular machine, operate a facility or delivered a customer project.
Write captions from verified information. Identify the relevant subject or explain what the reader should notice, then leave technical limits in the appropriate copy. Avoid a caption that turns an attractive image into a universal promise about tolerances, capacity, quality or turnaround.
Customer work needs its own approval and context. If you can publish a project image, connect it to an accurate account of the work and its limits. Do not invent a customer story to make a generic image more persuasive. Our case-study guide explains how to build a documented narrative around an approved example.
Treat old images as records with a review owner. If equipment leaves the shop or a service changes, check the related photographs, captions and pages. A photograph can remain technically sharp while the business implication it creates is no longer accurate.
7. Plan crops for the places images will appear
One image may need to work in a wide article hero, a smaller archive thumbnail and a narrow phone layout. Identify those uses before capture. Ask for enough surrounding space to make useful crops without removing the subject or changing the meaning of the image.
Review each crop on its own. A wide view that clearly shows a resource in context may become an ambiguous close-up when reduced to a square. A portrait may cut off important context in a banner. Do not approve the master image and assume every automatically generated variant remains useful.
Keep text out of photographs when the same information can be written as page content. Text baked into an image may become unreadable on a phone and is difficult to update. If the layout needs space for a heading, discuss that composition with the designer instead of adding a slogan to every source image.
Record the selected crops and their intended destinations in the asset register. Keep an approved master separately from the web versions so future editors can create a new size without repeatedly recompressing an already reduced file. Check that edits preserve the relevant facts and context.

8. Deliver images the website can use efficiently
Ask for approved master files and clearly named web versions. The editor should know which image belongs to which page and which variants are ready for publication. Include the approval reference, useful caption, alt-text draft and review owner with the delivery rather than relying on a separate email chain.
Google’s image guidance recommends discoverable HTML images, descriptive filenames, relevant surrounding content and a balance between quality and loading cost. A descriptive name should identify the subject or purpose without becoming a string of repeated keywords. Keep the image readable after optimization.
Have the developer provide appropriate responsive behavior and image dimensions. web.dev’s layout-shift guidance identifies images without dimensions as a common source of unwanted movement. Reserve the correct space and test the actual page; a file-size reduction alone does not establish a good loading experience.
Check the hero separately from later images. The image needed immediately should not be delayed by an inappropriate lazy-loading setting. Later images can load as the reader approaches them. Test your implementation on the live website instead of copying one loading rule to every image.
For a broader performance check after publishing new photography, use our machine shop website speed guide to review image delivery, page stability and the RFQ route.
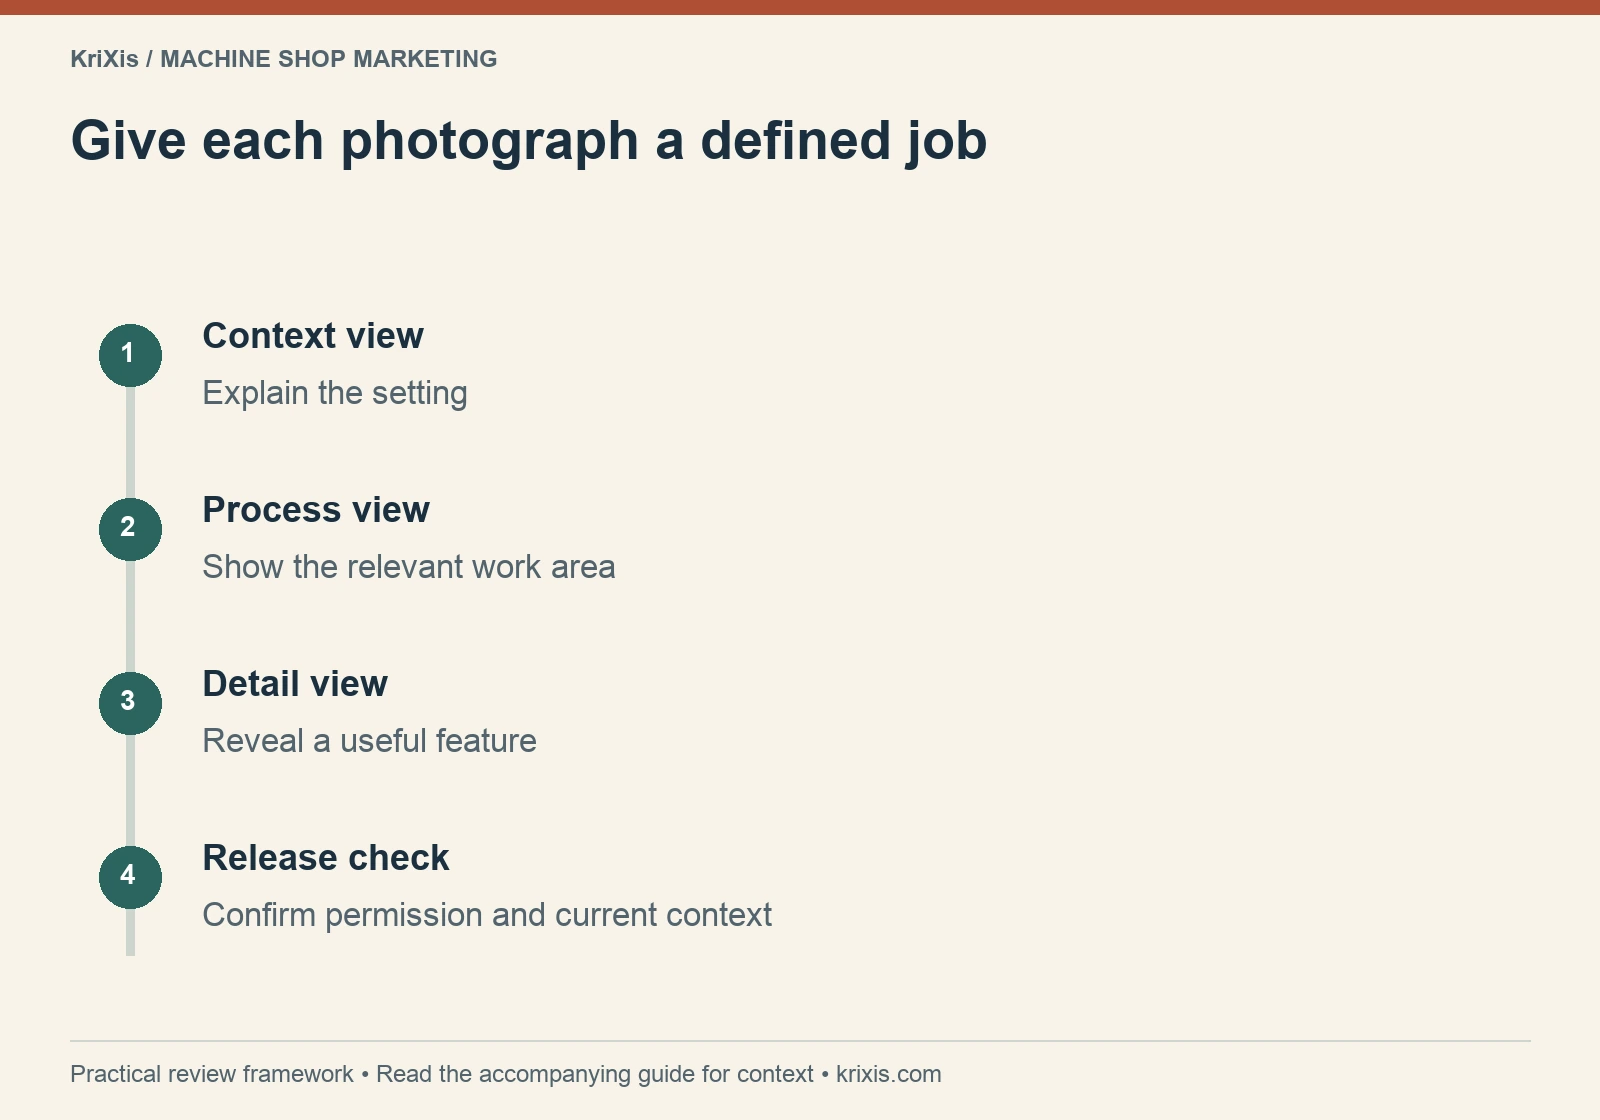
Read this graphic as text
- Context view: Explain the setting
- Process view: Show the relevant work area
- Detail view: Reveal a useful feature
- Release check: Confirm permission and current context
9. Write alt text and captions for their different jobs
Alt text should communicate the image’s relevant information in its page context. A caption can identify a subject, explain why the view matters or qualify what the reader is seeing. Neither needs to repeat a sales phrase that the image does not support.
W3C’s image tutorial distinguishes informative, decorative and functional images. Give an informative photo a useful description; use an empty alternative when an image is purely decorative. For an image that functions as a link, consider the destination or action the user needs to understand.
Read your proposed description alongside the paragraph it supports. “Machine shop image” adds little. A description of the relevant resource, arrangement or action can help the reader understand why it is there. Avoid inventing technical details that cannot be established from the approved record.
Keep important information available as text. A buyer should not need to read a tiny label in a photograph to learn a capability limit or the correct contact route. Detailed diagrams also need a readable explanation of their essential information, particularly when the graphic becomes small on a phone.
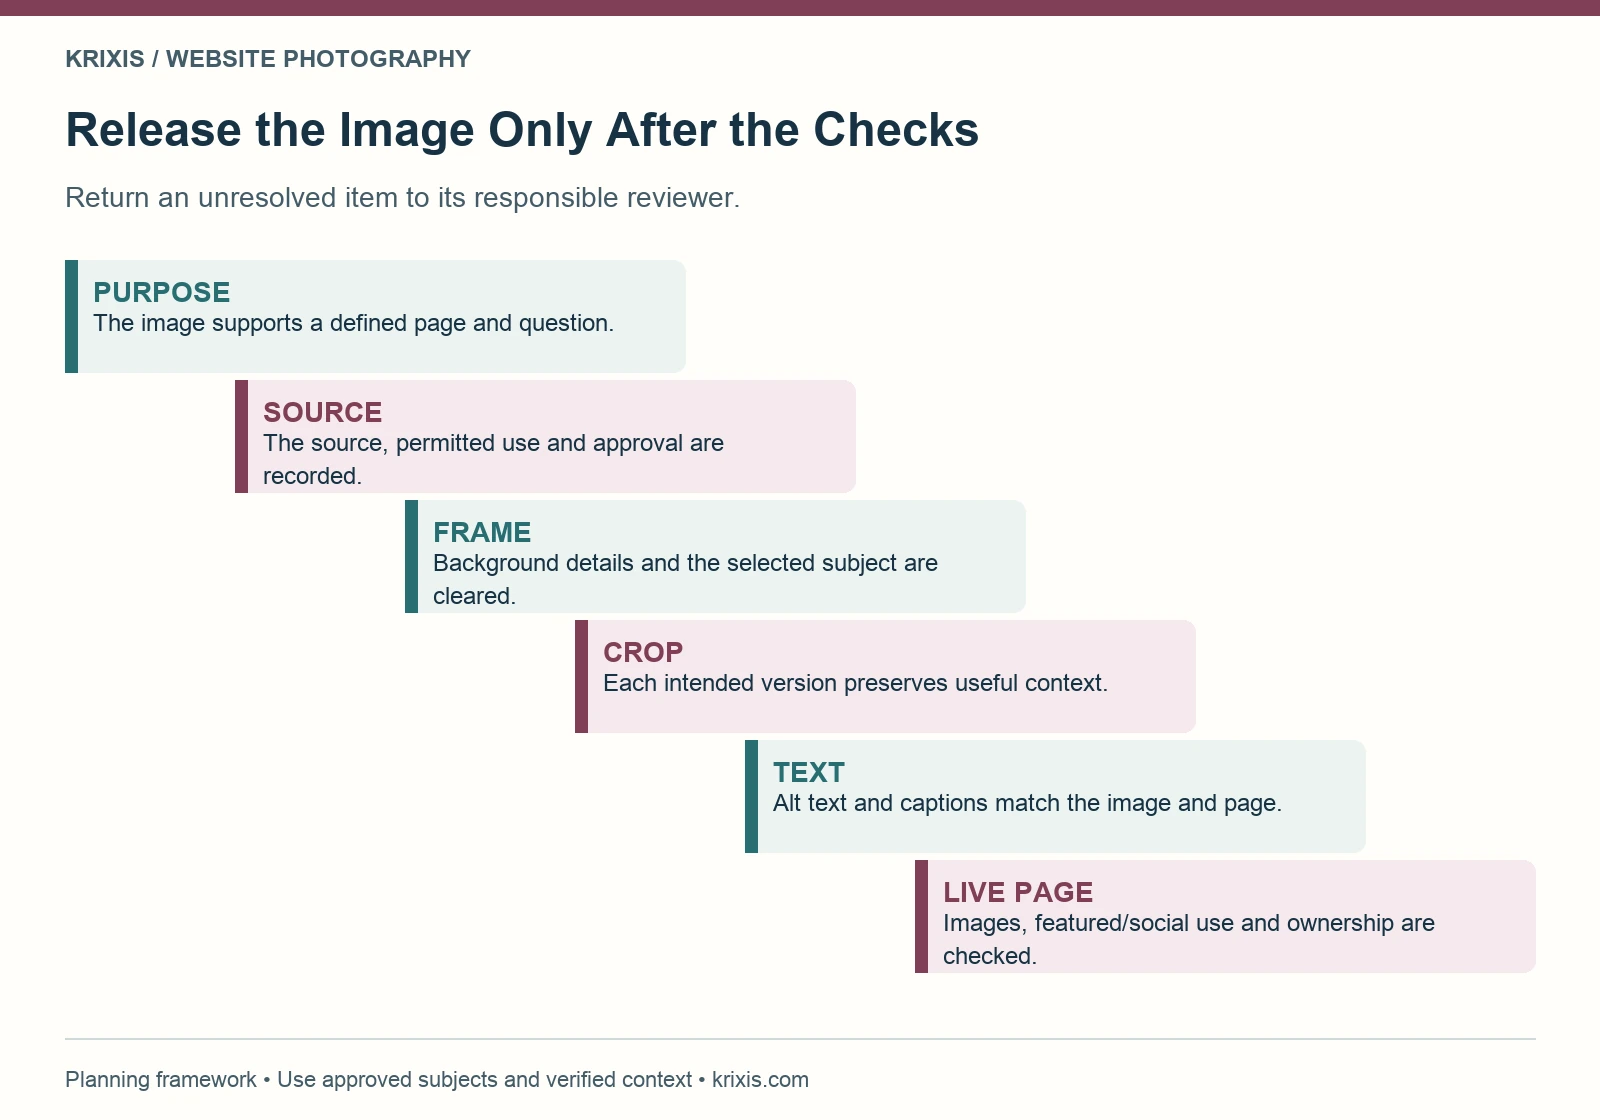
10. Try a small plan before scheduling a large shoot
Fictional planning example: a shop is improving a milling page, a quality page and an inquiry page. Its team chooses an approved wide process view, a contextual resource view, a permitted detail and an image that helps identify the inquiry contact or location.
Each proposed shot gets a page destination and a reviewer. The team records exclusions before the session, then reviews the contact sheet and the selected mobile crops. If the contact image cannot be approved, that page keeps a clear written contact route while the team chooses an alternative.
There are no invented results or performance promises in this example. The practical improvement is a defined process: each image has a purpose, a source, permission and an owner. Your own list may need different subjects, depending on what buyers ask and what your team can appropriately show.
Use the first published set to identify gaps. If an image leaves readers asking the same question, improve the explanation or choose a different view. Do not schedule another full session solely because the library has fewer files than a competitor’s.
11. Review the images as part of the website
Inspect the live page, archive and sharing preview. Confirm that the intended hero is assigned as the featured image, that it actually loads and that the thumbnail crop remains useful. A body image alone does not establish that the blog listing or sharing image is correct.
Check desktop and phone layouts, alt text, captions, links and downloads. Ask the page owner to review whether the image still matches the described work. Record observed issues and their owner rather than assuming that a successful upload completes the job.
Add image reviews to your content-maintenance plan. Useful triggers include equipment changes, revised services, permission changes and a website redesign. Keep approved originals, delivery records and current web versions organized so updates do not begin with a search through old inboxes.


Trackbacks & Pingbacks
[…] the machine shop website photography guide to decide which visuals deserve space. Clear evidence and efficient delivery should support each […]
[…] For a practical shot brief and image approval handoff, use our photography shot-list guide. […]
Leave a Reply
Want to join the discussion?Feel free to contribute!